SMS/Email Auto Responder Integration
Streamline your customer communications with powerful SMS, Email, and Auto Responder integrations for WhatsApp business.
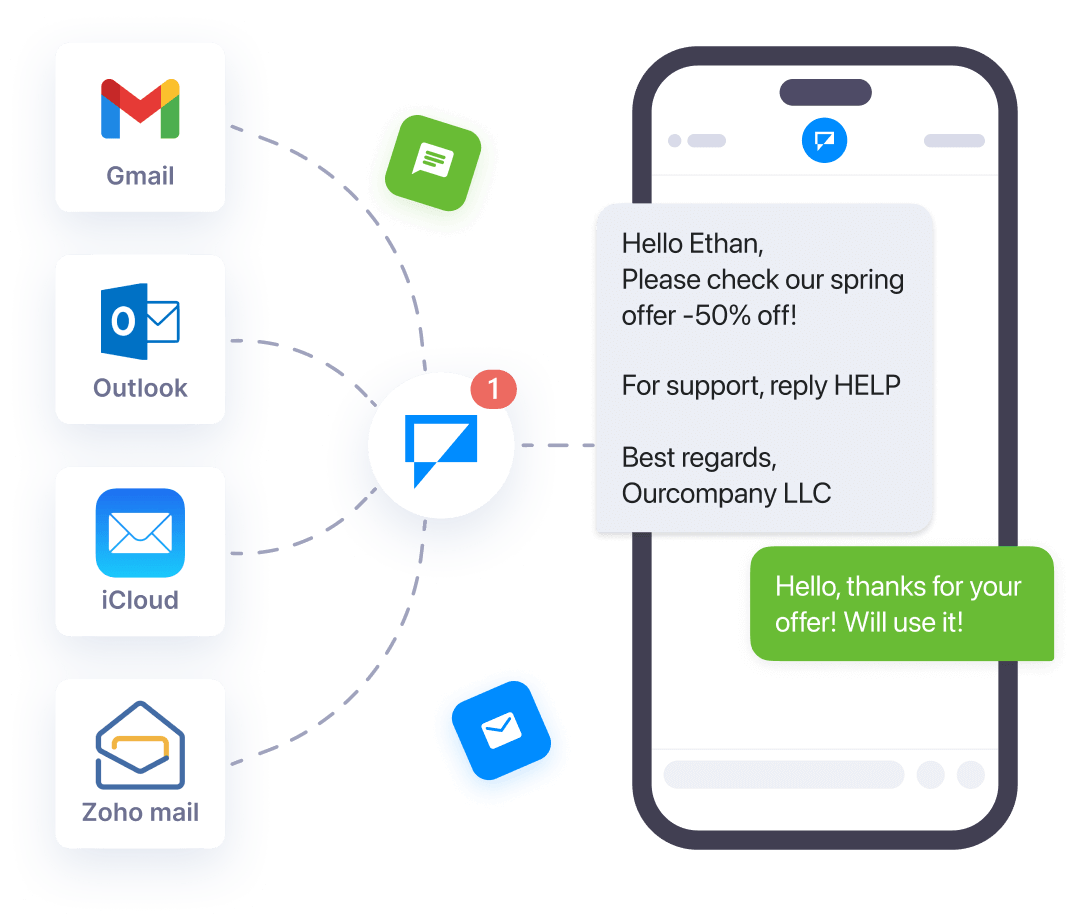
Multiple Communication Channels
Expand your reach beyond WhatsApp with integrated messaging solutions
Wapikon's communication integrations allow businesses to seamlessly connect SMS, Email, and Auto Responder capabilities with WhatsApp automation. Reach customers on their preferred channels, improve response times, and create consistent messaging experiences across all touchpoints.
Key Benefits
Expand your communication capabilities with our powerful integrations
Multi-Channel Messaging
Reach customers on their preferred channels with unified messaging across WhatsApp, SMS, and Email platforms.
Automated Responses
Set up automatic replies across channels to ensure prompt customer service and reduce response times.
Centralized Data Collection
Gather customer information and interactions in one place for better analytics and audience segmentation.
Seamless API Integration
Connect with popular services like Twilio, Mailgun, and Sendinblue through simple, user-friendly setup processes.
SMS Integration
SMS integration in our platform adds SMS (Short Message Service) capability to our chatbot system. It enables our chatbots to send and receive text messages, allowing businesses to communicate with their consumers via SMS channels. This integration can be used for order confirmations, appointment reminders, or promotional messages. SMS integration provides a convenient and accessible communication channel for consumers who prefer text messaging over other forms of communication.
How to Integrate SMS with Wapikon
To integrate an SMS service provider to Wapikon, follow these steps:
- Access your Dashboard and navigate to Integrations Open your dashboard and scroll down to the "Management" section. Click on "Integration" to open the integration menu.
- Set up a new SMS profile Within the "Integration" menu, select the "SMS" category. Click the "New" button next to "SMS Profile" to create a new profile.
- Choose Twilio as your SMS service provider Since we're using Twilio in this example, click on the "Twilio" option.
- Enter your Twilio account details A form will appear. Fill in the required information using the details from your Twilio account.
- Save your Twilio profile Once you've entered all the details, click "Save" to finalize the setup of your Twilio profile.
Email Integration
Email integration on our platform allows you to link your chatbot with external email service providers (ESPs) such as SMTP (Simple Mail Transfer Protocol), Mailgun, Mailchimp, or Postmark. This connection allows your chatbot to send and receive emails, enabling features like welcome emails to new subscribers, notification emails for specific actions, abandoned cart emails, automated email sequences for lead nurturing, and support emails for ticket submissions or customer support.
How to Integrate Email with Wapikon
To integrate an Email service provider (for example, Mailgun) to Wapikon, follow these steps:
- Access the Dashboard and navigate to Integrations Open your dashboard and scroll down to the "Management" section. Find and click on the option labeled "Integration."
- Select Email and Create a New Profile Within the "Integration" menu, choose the "Email" category. Click the "New" button next to "Email Profile" to set up a new email service provider.
- Choose Mailgun as your Provider We'll use Mailgun as an example in this guide. Click on the "Mailgun" option.
- Complete the Mailgun Profile Form Fill out the form to create your Mailgun profile. You'll find the necessary details in your Mailgun account.
- Save your Mailgun Profile Once you've entered all the required information, click "Save" to finalize the setup.
Auto Responder Integration
Wapikon's Auto Responder integration enables your chatbots to gather emails from your users. You can use collected emails to broadcast or send any notification later, and if necessary, you can set up pre-made response email templates that your user will receive. This enables chatbots to answer requests, provide rapid support, increase efficiency, and enhance the user experience by replying with timely and appropriate information.
How to Integrate Auto Responder with Wapikon
To integrate the Auto Responder service provider, follow these steps:
- Access the Dashboard Begin by logging in to your platform and navigating to the main control panel, often called the "Dashboard."
- Locate Integration Scroll down the Dashboard until you find a section labeled "Management" or something similar. Look for an option related to "Integration" within this section.
- Choose Responder Category Within the "Integration" menu, find the category for "Responders" or "Responder Services." This is where you'll connect your chosen service provider.
- Create New Profile Click the "New" button (often with a plus sign) located next to "Responder Profile" or a similar option. This initiates the process of setting up a new profile for your chosen responder service.
- Select Sendinblue (Example) This guide uses Sendinblue as an example. In your specific platform, you might see a list of available responder service providers. Choose "Sendinblue" (or your desired provider) from the available options.
- Complete Sendinblue Profile A form will appear, requiring information from your Sendinblue account. Fill out this form with the necessary details, which can be found within your Sendinblue settings.
- Save and Finalize Once you've entered all the required information, click the "Save" button to finalize the setup of your Sendinblue profile (or the profile for your chosen responder service).
Elevate Your Customer Communications
Wapikon's integration solutions empower businesses to create seamless, multi-channel communication experiences. By connecting SMS, Email, and Auto Responder capabilities with your WhatsApp Business account, you can reach customers wherever they are, automate routine interactions, and build stronger relationships through consistent messaging.
Start Using Multi-Channel IntegrationsReady to Transform Your Business Communications?
Integrate SMS, Email, and Auto Responder capabilities with Wapikon today.
Get Started Free


